Tutorial: Matte Red Velvet Nails
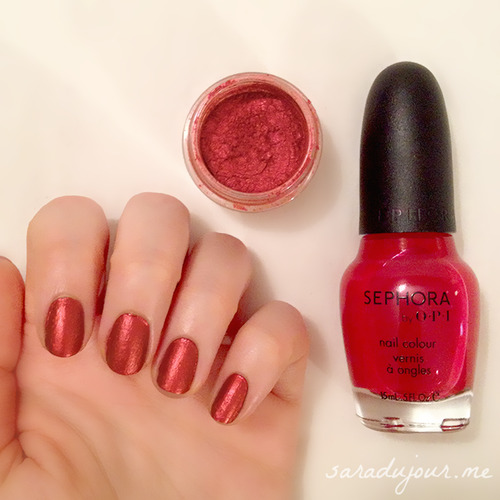
This week I decided to do a fun little experiment on my nails: a DIY-style matte velvet nail look, using eyeshadow pigments. I have a whole bunch of eyeshadow pigments lying around which I never use, because they’re such a mess to apply, and pressed eyeshadows are much easier. But since I have them, I thought I’d put them to good use – for nail art! If you have any loose eyeshadows at home you’d like to use up, then this is the tutorial for you.
I decided to do a red manicure, so the first thing I did was find a nail polish that matched the eyeshadow pigment as closely as possible. For me, it was Sephora by OPI’s “And A Cherry On Top”.
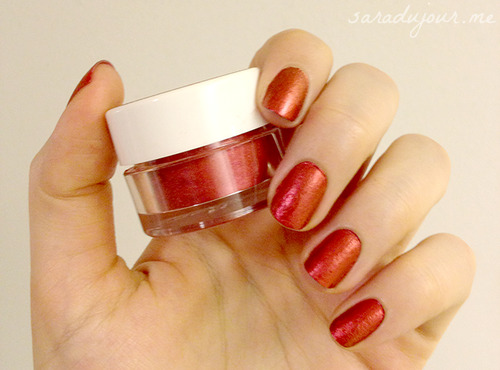
The eyeshadow pigment I used was Limecrime’s “Siren”, a beautiful true red with a pearly sheen to it. (Why I bought red eyeshadow, I have no idea. Regrets and mistakes they’re memories made, as Adele would say.)
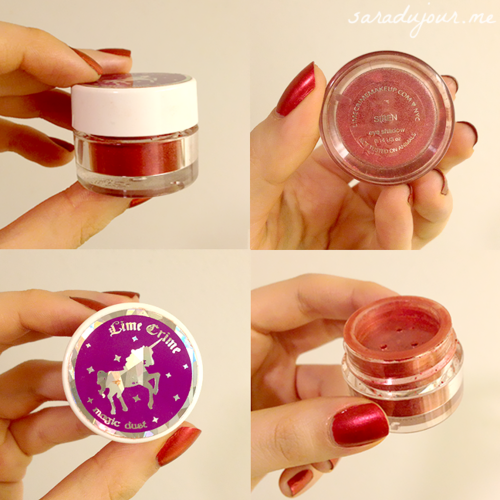
It comes in a little pot with a removable filter at the top. For our purposes, pop that off so you can get access to all the powdery goodness inside.
Now, this is a mighty messy project, so I suggest you lay down some tissues as a base, like I have here, before you start. The powder is very finely milled, so it will get EVERYWHERE.
Here’s what you do:
1. Paint one nail with the nail polish. (You can use clear polish too, but using a colored polish ensures you’ll get an even color base, even if you miss a spot with the powder later.)
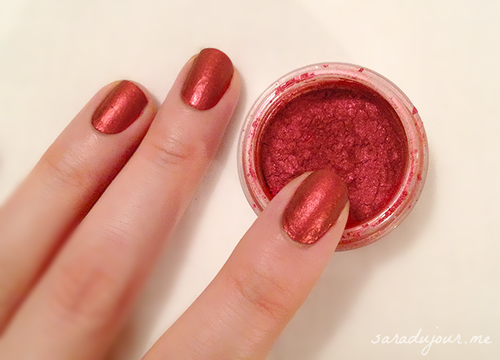
2. Dip the nail into the eyeshadow pigment. You will get way more than you need on the nail (and your skin!), but that’s okay. If you want a less textured look, you can simply press on a little powder on the nail with another finger.
3. Tap off some of the excess pigment, and use another finger to press the remaining powder into the nail. This is just to really make sure the pigment sticks and integrates with the polish.
4. Let it dry for a few minutes – go ahead and do your other nails, one at a time, in the meantime.
5. Once they’re dry, carefully make your way to a sink (the powder will get everywhere, like I said, so move quickly) and let the water run over your hands, washing away the rest of the excess pigment and cleaning that which was on your cuticles and skin.
6. Air dry your hands by waving them around like a maniac for a bit.
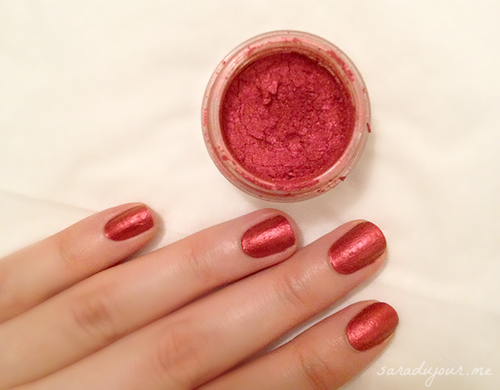
And you’re done! I’d give them another hour or so to dry completely – but you can still carry on with your day, as long as you don’t scrape or scrub them in the interim.
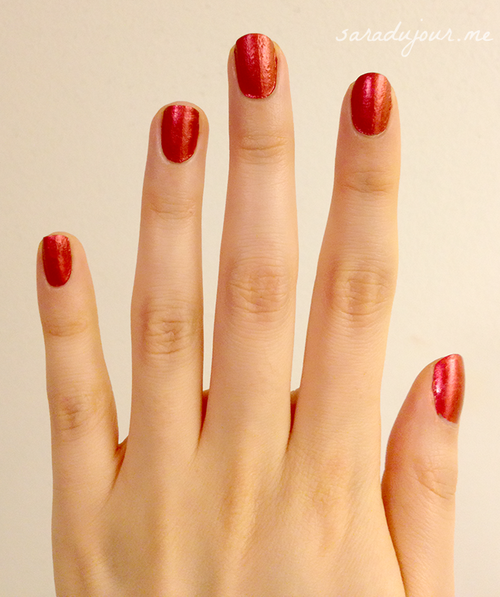
Ta-da! They would look a lot more matte if the pigment I used didn’t have a pearly sheen to it, but there you go. If you wanted a glitter nail look instead of a velvet matte one, you could use a glittery eyeshadow pigment or loose glitter instead.
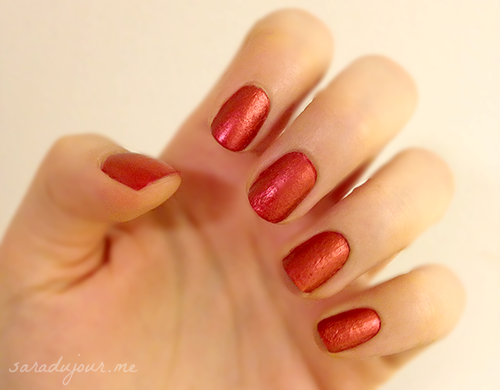
Let me know if you give this technique a try! x


