Tutorial: Nude and Gold Dot Nails

This week I wanted to do a manicure that was subtle, but just a l’il bit fancy. To find out how I created this nude and gold mani, read on!
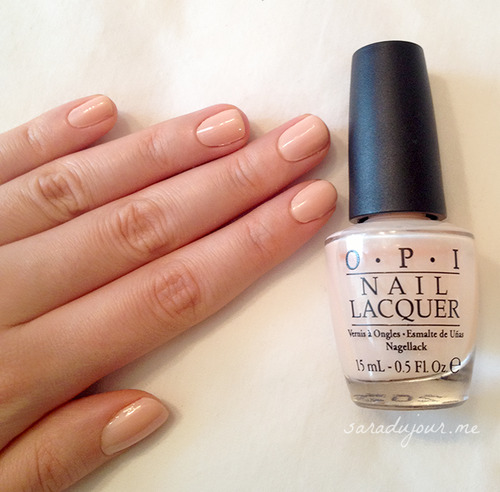
First, you need to paint your nails with your favorite nude nail polish.
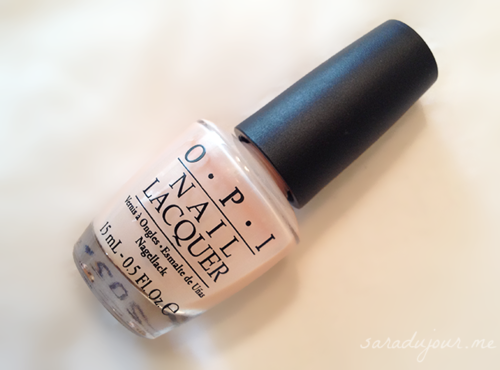
I used OPI’s “Coney Island Cotton Candy”, a favorite of mine, because it suits my skin tone the best. But it’ll be a different polish for everyone, depending on your skin. You’re aiming for that clean, polished nail effect.
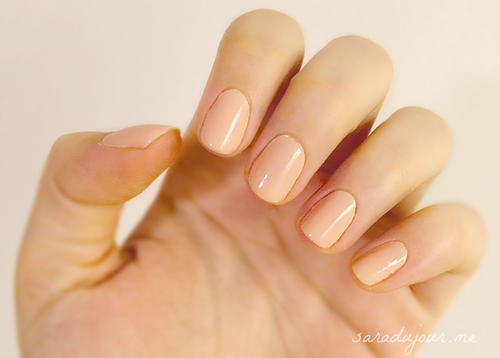
All done! I used quite a few coats to make it totally opaque, but you don’t have to, if you like a more sheer nude look. Now, leave that to dry.
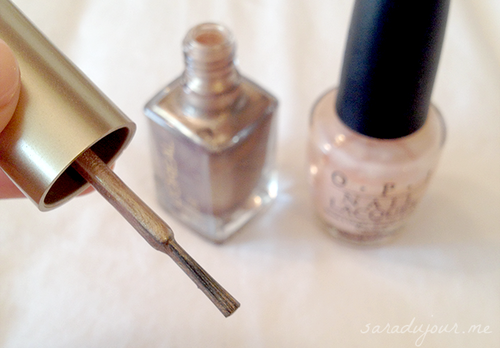
Then pick whichever color you want for the polka dots. I wanted a metallic, gold-ish color, so I chose L’Oreal #580 “Because You’re Worth It”. You can read more about this color in my drugstore beauty haul.
Using a small amount of the polish on the brush, carefully touch it to your nail, creating a dot near the cuticle.
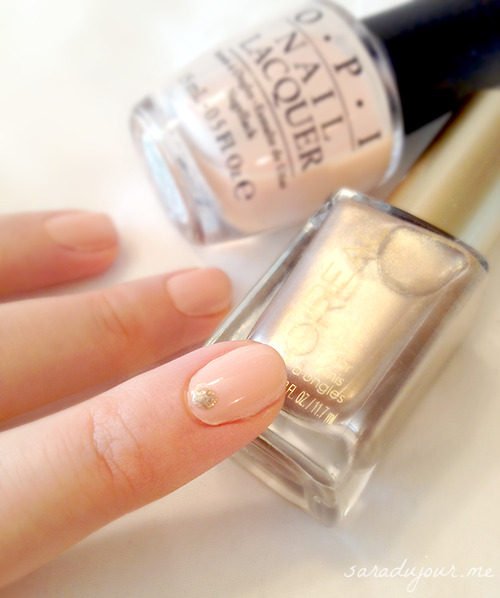
Like so!
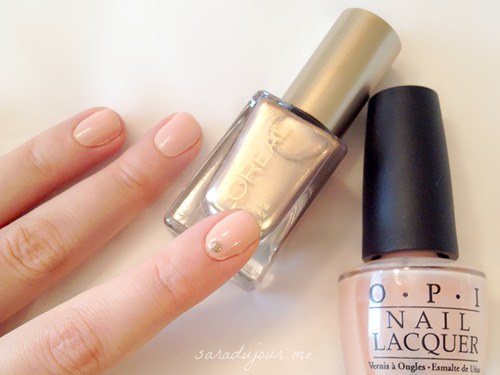
When you’re all done, you should have something like this:
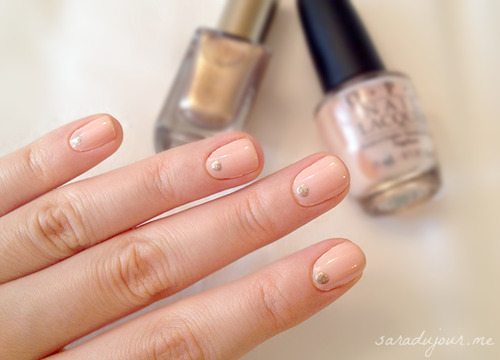
Ta-da! Wait a few minutes, then sweep a bit of topcoat over everything, to keep your manicure lasting longer.
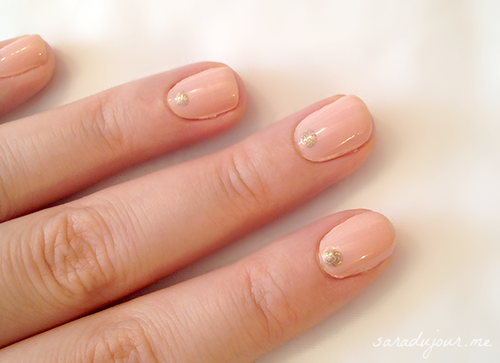
Then proceed to take an outrageous amount of photos of your nails.
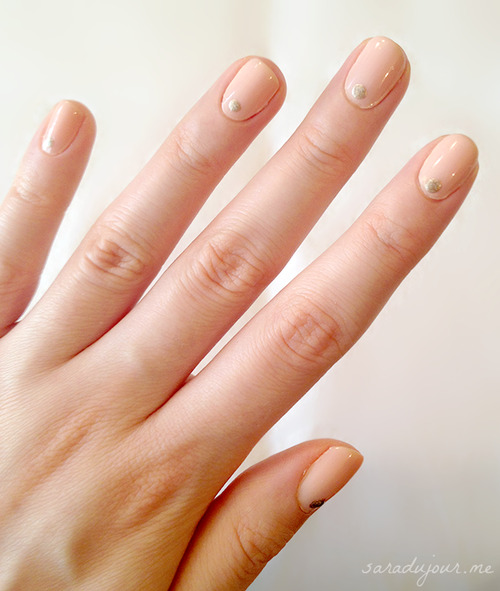
I really like how this manicure looks. From afar, your nails look clean and well-kept, so it’s appropriate for school, work, or any formal setting. But up close it has just enough detail and sparkle to make it beautiful and unique.
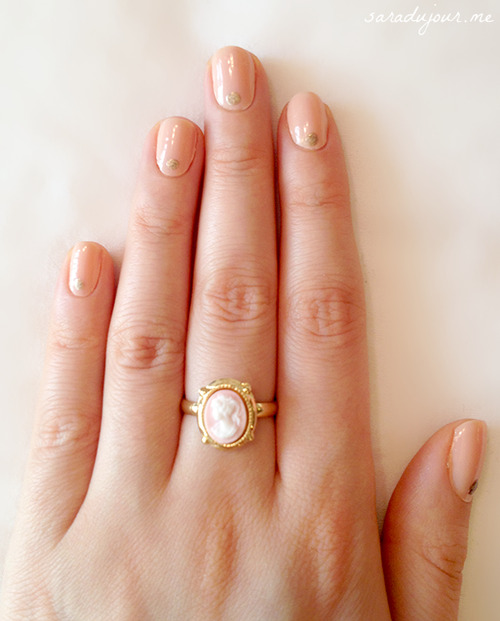
So what do you think? Love it, hate it? Leave a comment and let me know! xx


Pingback: Nude Colored Nails Tutorial()