4 Deceptively Easy Updos
Fancy-looking updos can be daunting. And if you’re a hair novice, many of them, while beautiful, are just a little bit too complicated to replicate.
But never fear, Sara is here! (hee hee.) Here are four simple as heck hairstyles that take under five minutes each. All you’ll need are a handful of bobby pins, a clear rubber hair elastic, and maybe some hairspray if you need the style to last. No heat, styling tools, fancy combs or equipment required.
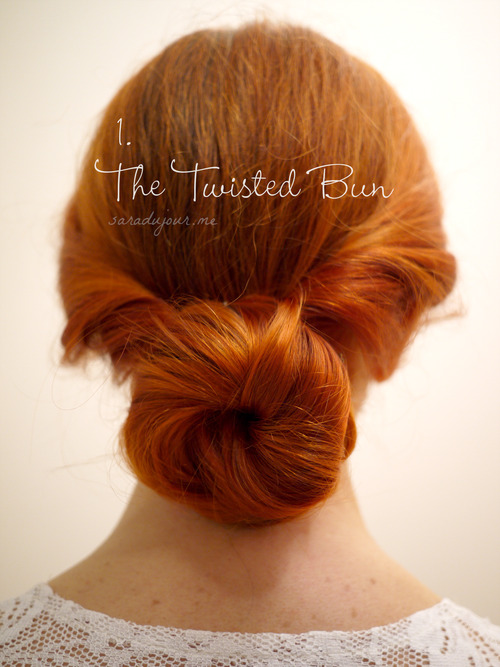
All of these hairstyles are ones I invented just by sitting and playing with my mum’s hair. This style took maybe two minutes. (It’ll take slightly longer if you’re doing your own hair.) It’s gorgeous, old fashioned, and romantic; but ridiculously easy to do.
Simply take the front sections of hair above your ears, and twist them inwards with your fingers. As you twist, add in the rest of your hair on each side. Allow them to be loose and a little bit messy – it’ll look prettier and more elegant. Where they meet in the middle, secure them together with a small clear hair elastic.
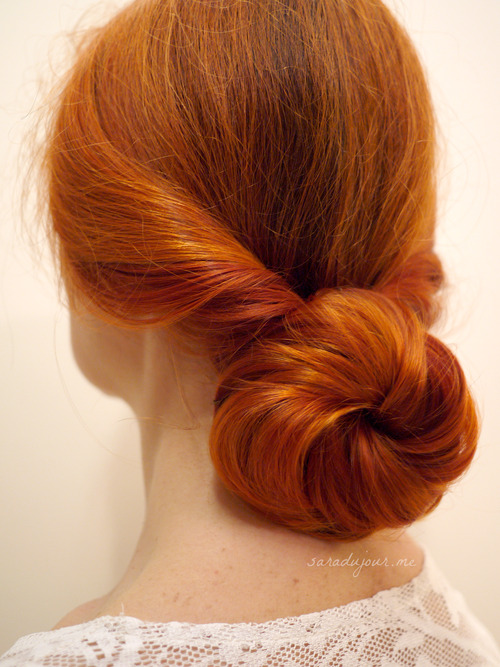
With the single ponytail that creates, twist and shape it into a round bun. Secure that to your head with bobby pins, combining some hair from your bun and some hair from against your head in each pin. Work your way around the bun, doing this, until it holds itself together. If you need to, spray it with a light misting of hairspray for longer hold. Done!
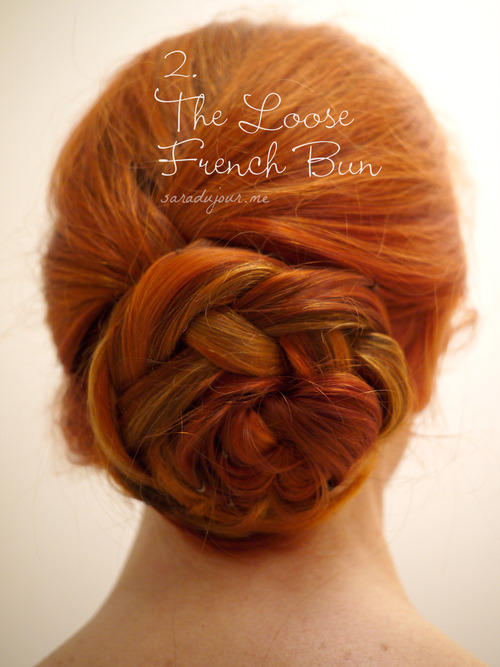
This is a beautiful, effortless updo perfect for a summer wedding or formal event. It may look like it requires magic to create, but believe me, it’s easy.
Start by pulling all your hair into a very loose French braid down the back. When you come towards to ends of your hair, continue with a loose regular braid, and tie it with an elastic.
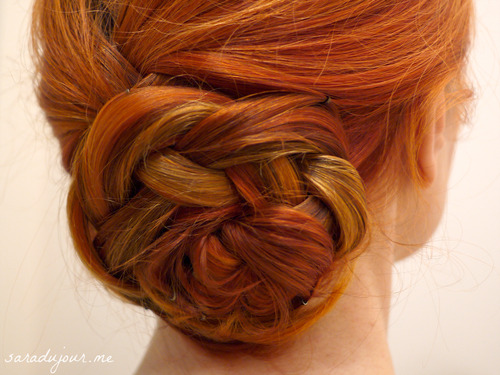
Using the free, unattached part of your braid, wind it into a circular bun shape towards one side of your head (I leaned to the right). Since it’s already braided, it won’t take a lot of effort to hold together, but simply needs a few pins to secure it down.
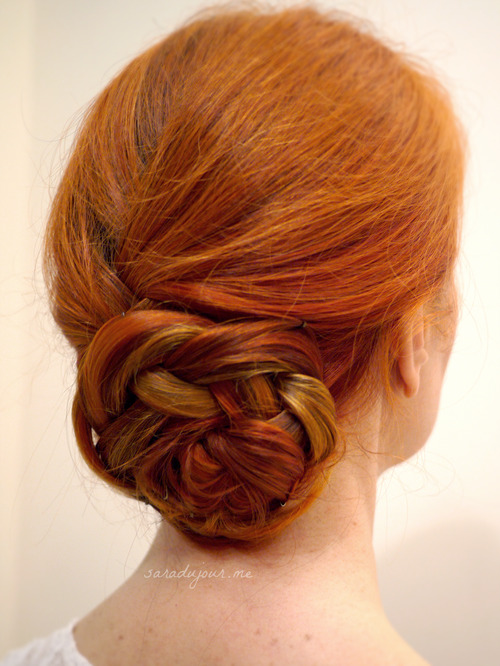
In order for the bobby pins to remain relatively hidden while still doing their job, take only a few strands from each chunk of braid, and pin them to your head, tucking the pins underneath the bun. Push them in hard, but not too hard. (If you impale your brain, you’ve gone too far.)
Keep going until the bun feels secure – the more pins, the more bouncing you can do at your event, free of worry. All done!
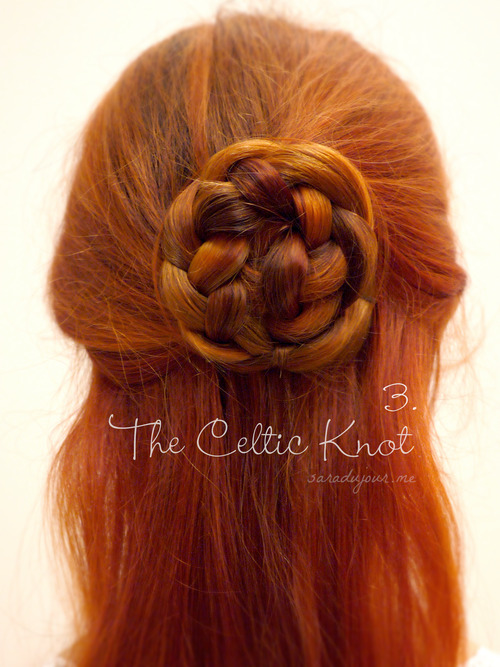
This one’s a pretty, celtic knot-inspired half updo, which could easily be transformed into a full updo with some slight alterations.
Start by sectioning off the top half of your hair and braiding it.
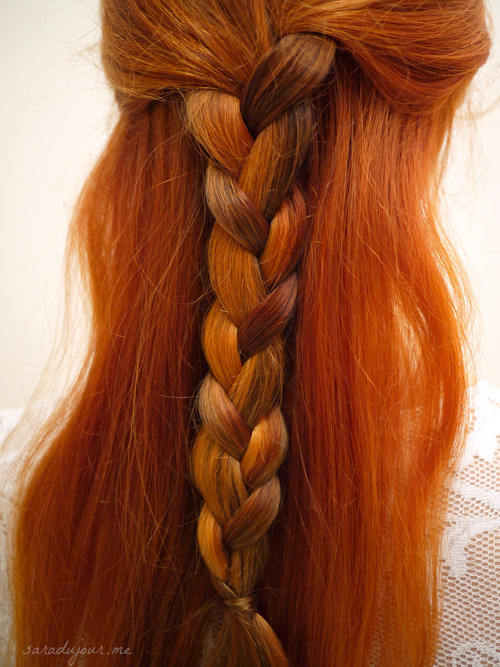
After securing the bottom with a clear hair elastic, take a small chunk of hair from the tail of the braid and wind it around the elastic, concealing it. Hold that in place with a single bobby pin, slid into the elastic.
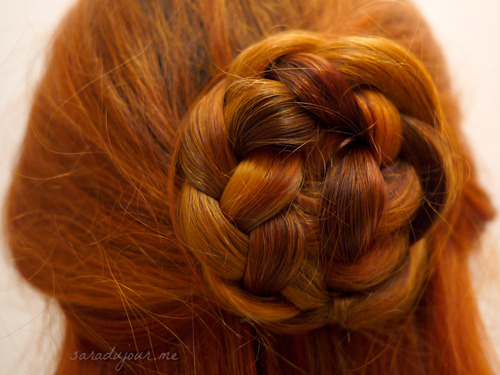
You know the drill. Wind the braid in a circle, starting from the middle and moving outwards. Tuck the tail of the braid underneath to hide it, and pin everything in place with sneakily-positioned bobby pins. Voila!
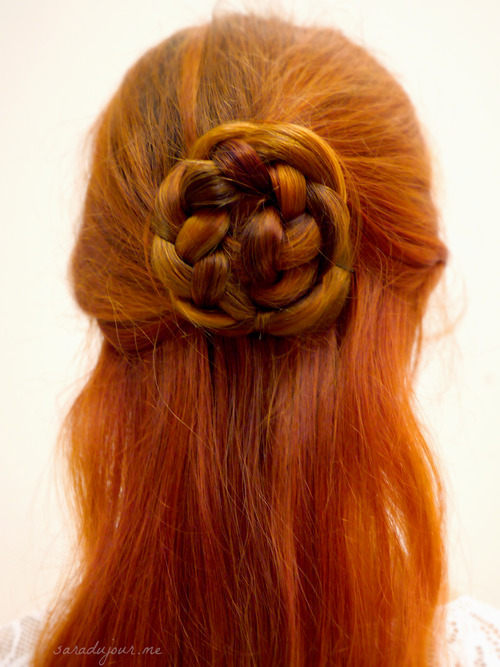
To make this a full updo instead, braid all of your hair (instead of just the top section), and wind that around.
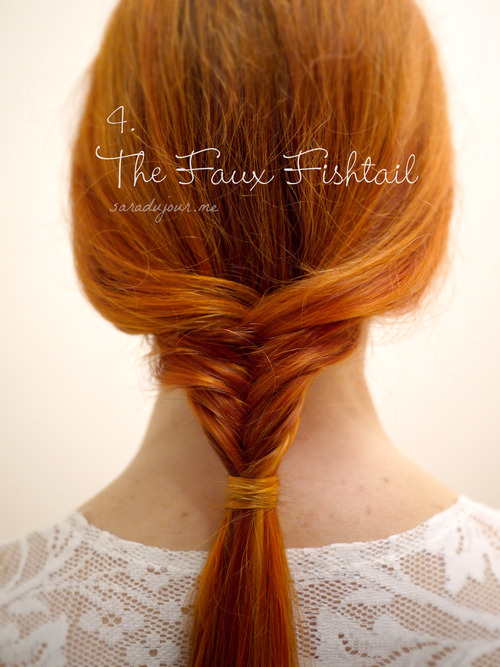
Now this is a nifty trick for those of you who just can’t get the hang of a real fishtail braid, but like the look of them. Or even if you can do a fishtail, this is a messier, more effortless alternative.
Pulling the front sections of your hair to the back, cross them over one another. From the hair directly below these sections, pull a small chunk from the outermost part of each side, and cross them over one another, using a finger to hold them in place in the middle.
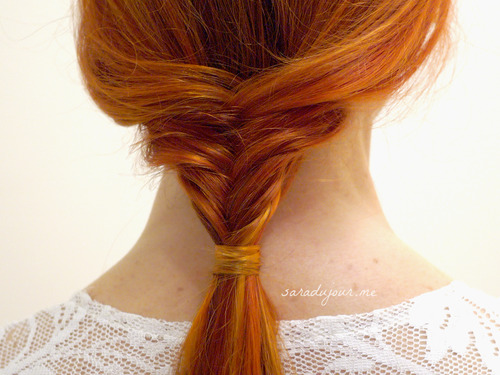
Keep moving downwards, crossing the outer strands over one another until you get a faux fishtail braid of the length you want. Tie it together with a clear rubber elastic, and, like before, wrap it with a small section of hair to hide it. Ta-da!
Thank you mama for being my lovely hair model! Leave a comment letting me know which of the four hairstyles you like best! xx


