DIY White + Gold Bar Cart (IKEA Hack)
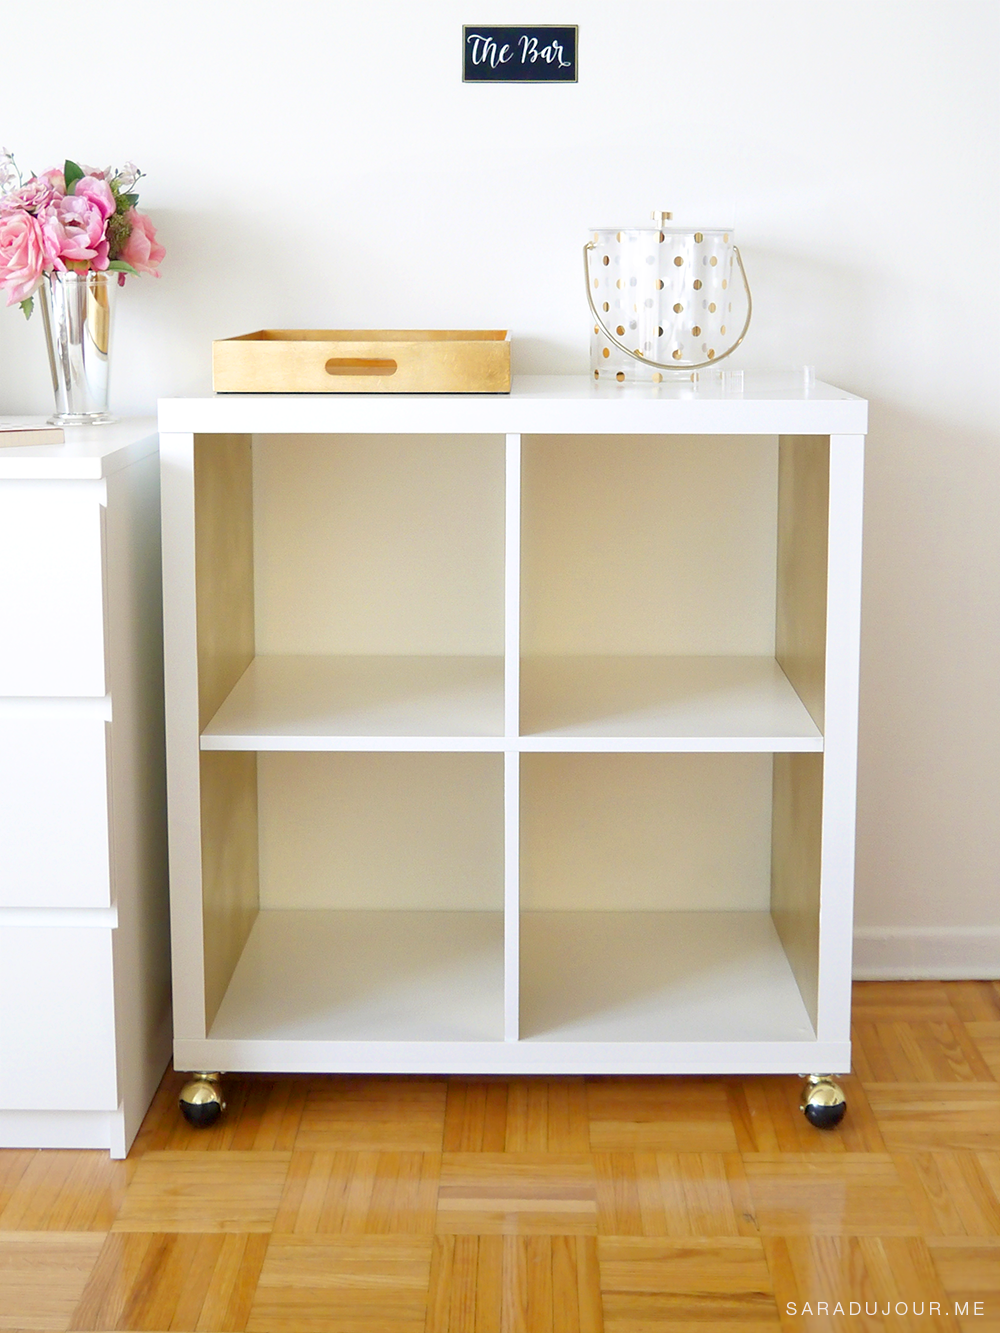
Pictured above: Bar Sign | Shelf | Ice Bucket | Gold Tray | Flowers
Bar carts have become very trendy lately, and I’ve been wanting one of my own for quite some time. Though I’m not much of a drinker, I love entertaining and think bar carts make a wonderful piece of home decor, too. Unfortunately, all the bar carts I’d been lusting over were waaaaaay outside my budget. The least expensive one was over a hundred dollars, the most expensive one, close to two thousand. I was just about to give up on my dream of having my own bar cart, until I stumbled upon this lovely DIY tutorial from Sugar & Cloth.
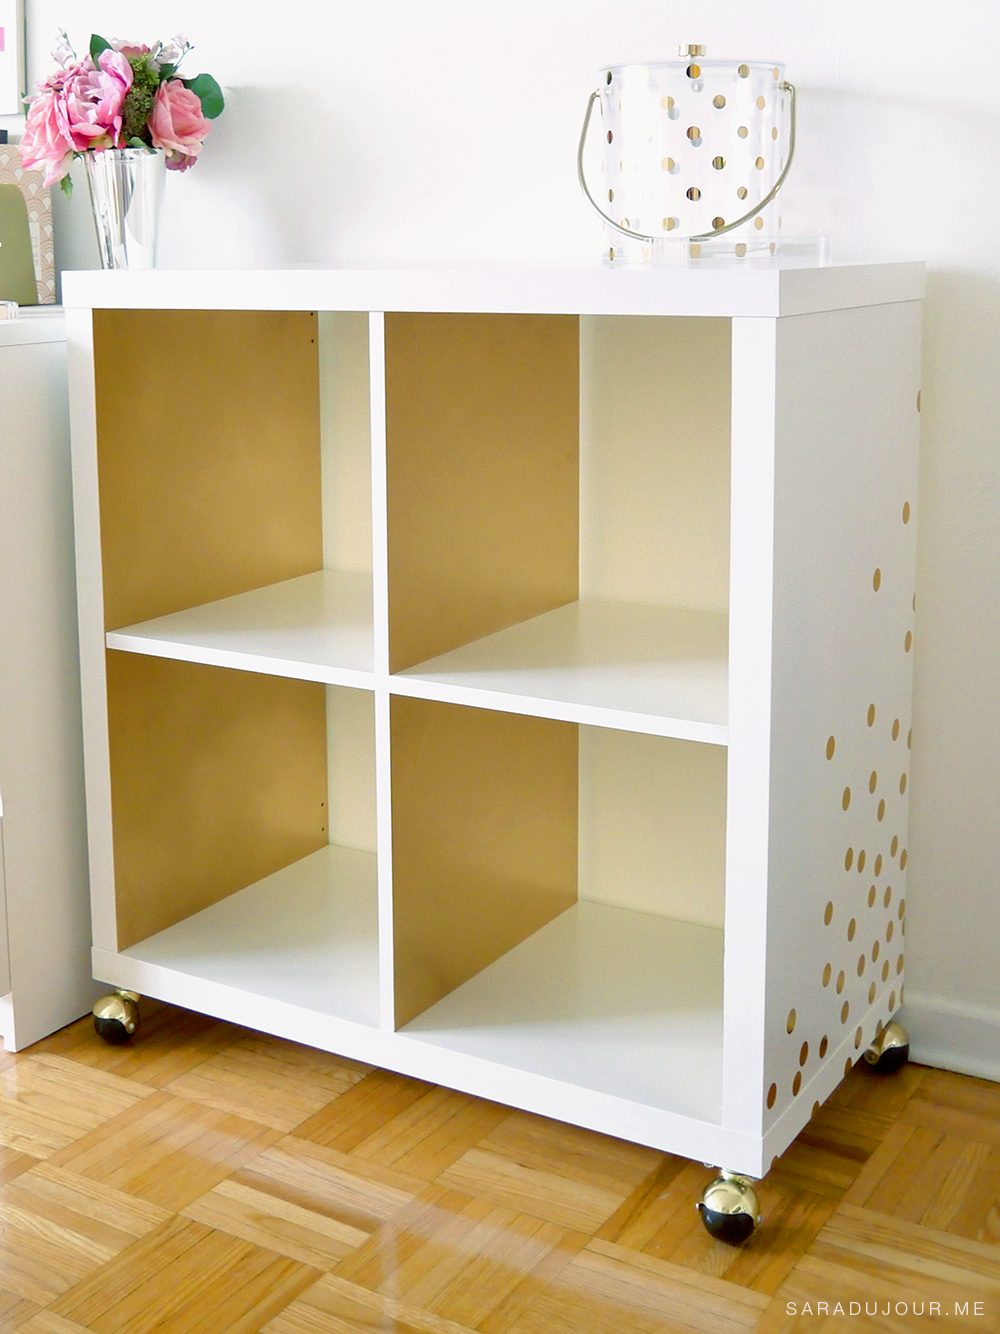
Though I didn’t follow her tutorial exactly, I used her inspired IKEA hack as the basis of my own, while adding my personal twist to it. It shouldn’t come as too much of a surprise that my bar cart is white and gold, with gold dots. It’s beautiful, functional, and affordable – to find out how I made it, simply read on!
Products you’ll need:
- IKEA Kallax white shelf {U.S. | Canada}
- 4 X gold and black wheels
- 16 X small screws (4 for each wheel)
- Gold spray paint
- Gold dot stickers
- Painter’s tape
- Disposable vinyl gloves
- Drill and accompanying drill bit
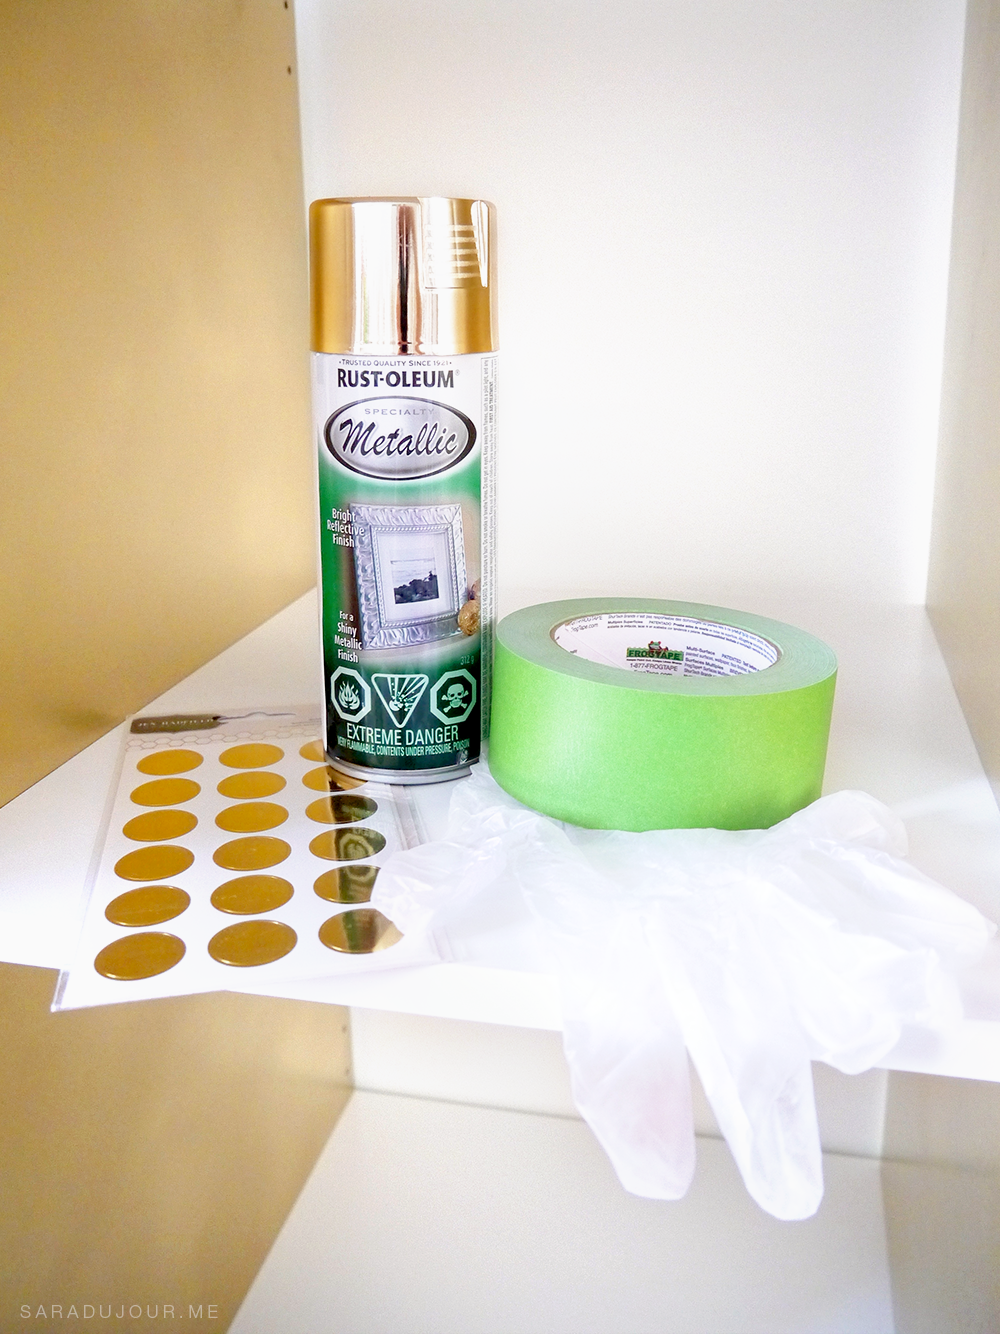
After much online research, I determined that the best gold spray paint is Rust-oleum Specialty Metallic in gold. It’s a beautiful colour, has great coverage, and dries quickly, making it ideal for a DIY project like this.
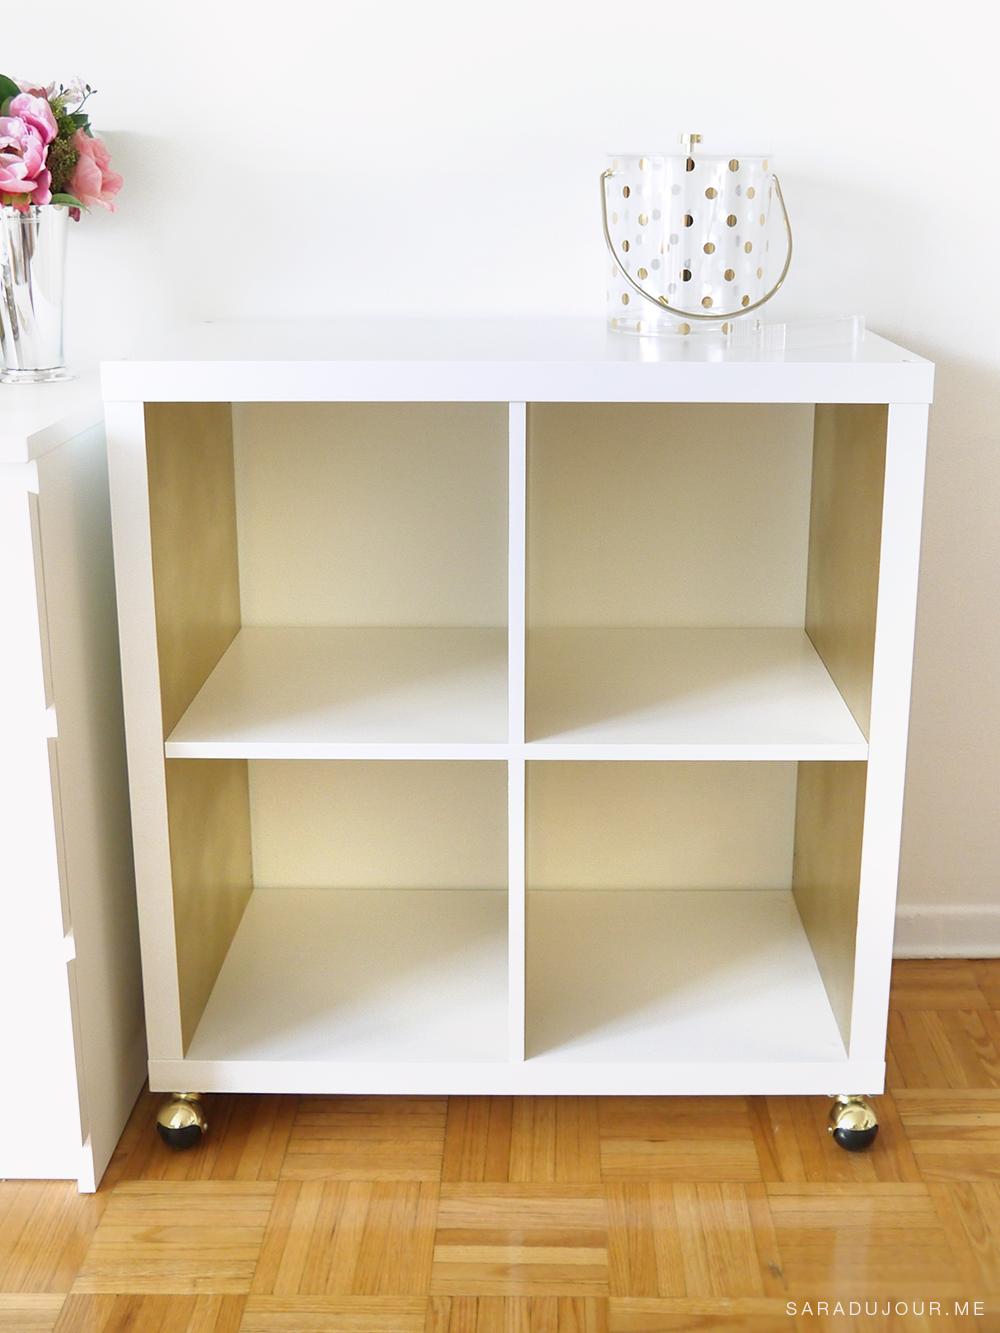
I decided to leave the majority of the shelving unit while, choosing to paint only the inner vertical walls gold for a pretty accent. Step one meant figuring out which of the disassembled IKEA pieces were the ones I needed to paint. Luckily, I guessed right!
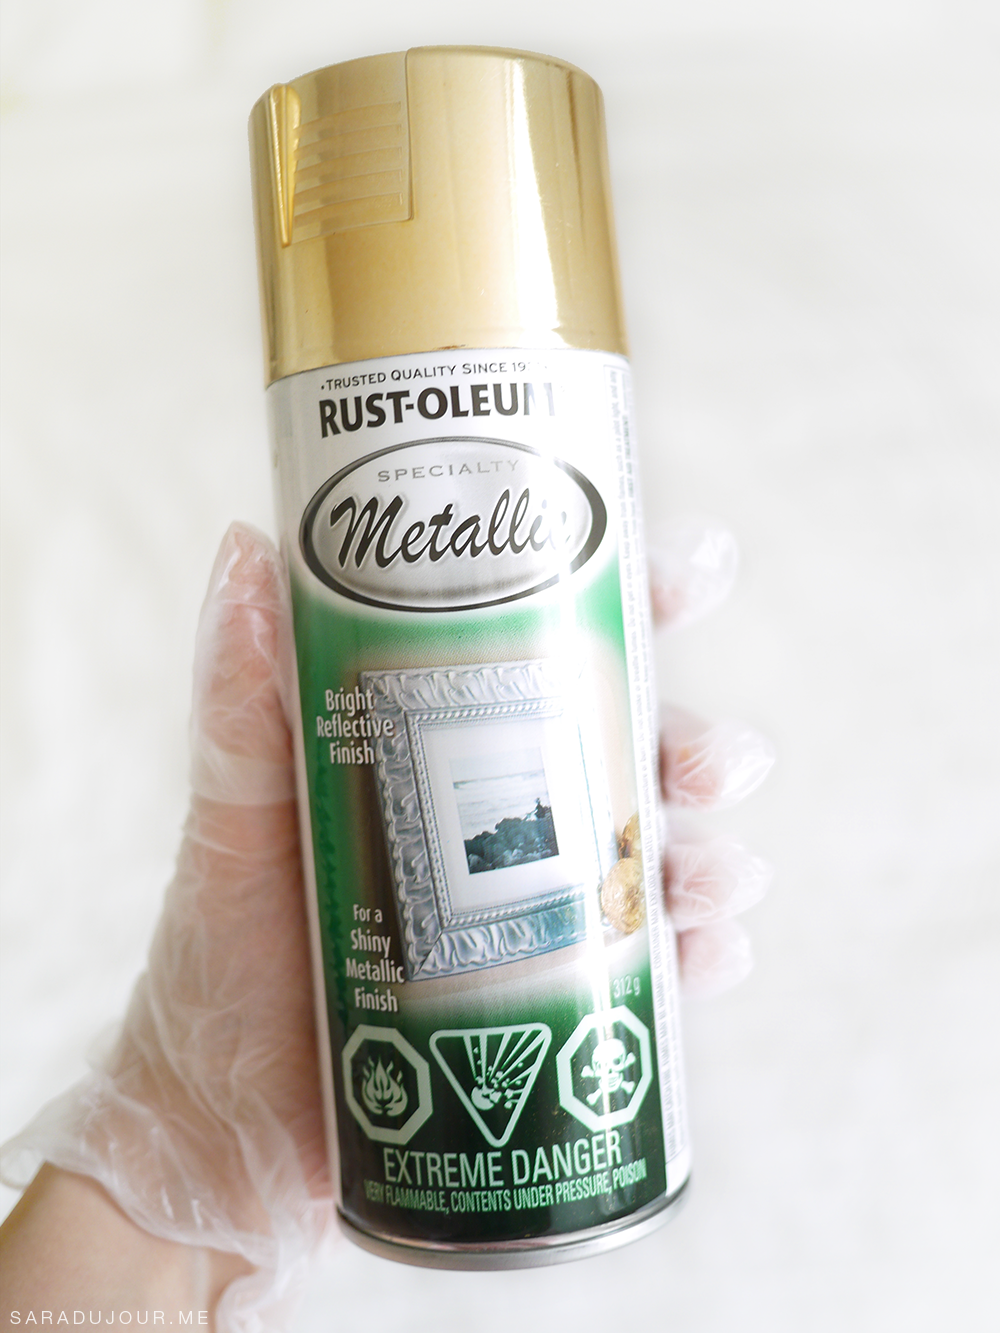
I used Frog Tape to carefully protect all the sides and edges of the shelves I didn’t want painted. When using spray paint, make sure you’re wearing disposable vinyl gloves, old clothing you don’t mind getting a bit dirty, and are spraying outside.
Spray painting took me two nights, painting one coat of paint each night, and letting each coat dry overnight. I’d recommend buying two bottles of spray paint just to be safe. I used slightly more than one paint can (though I did also use it for my DIY gold-dipped bottles).
Once that was complete and totally dry, I assembled my KALLAX shelving unit. Note that I bought it in the color “white”, not “high gloss white”.
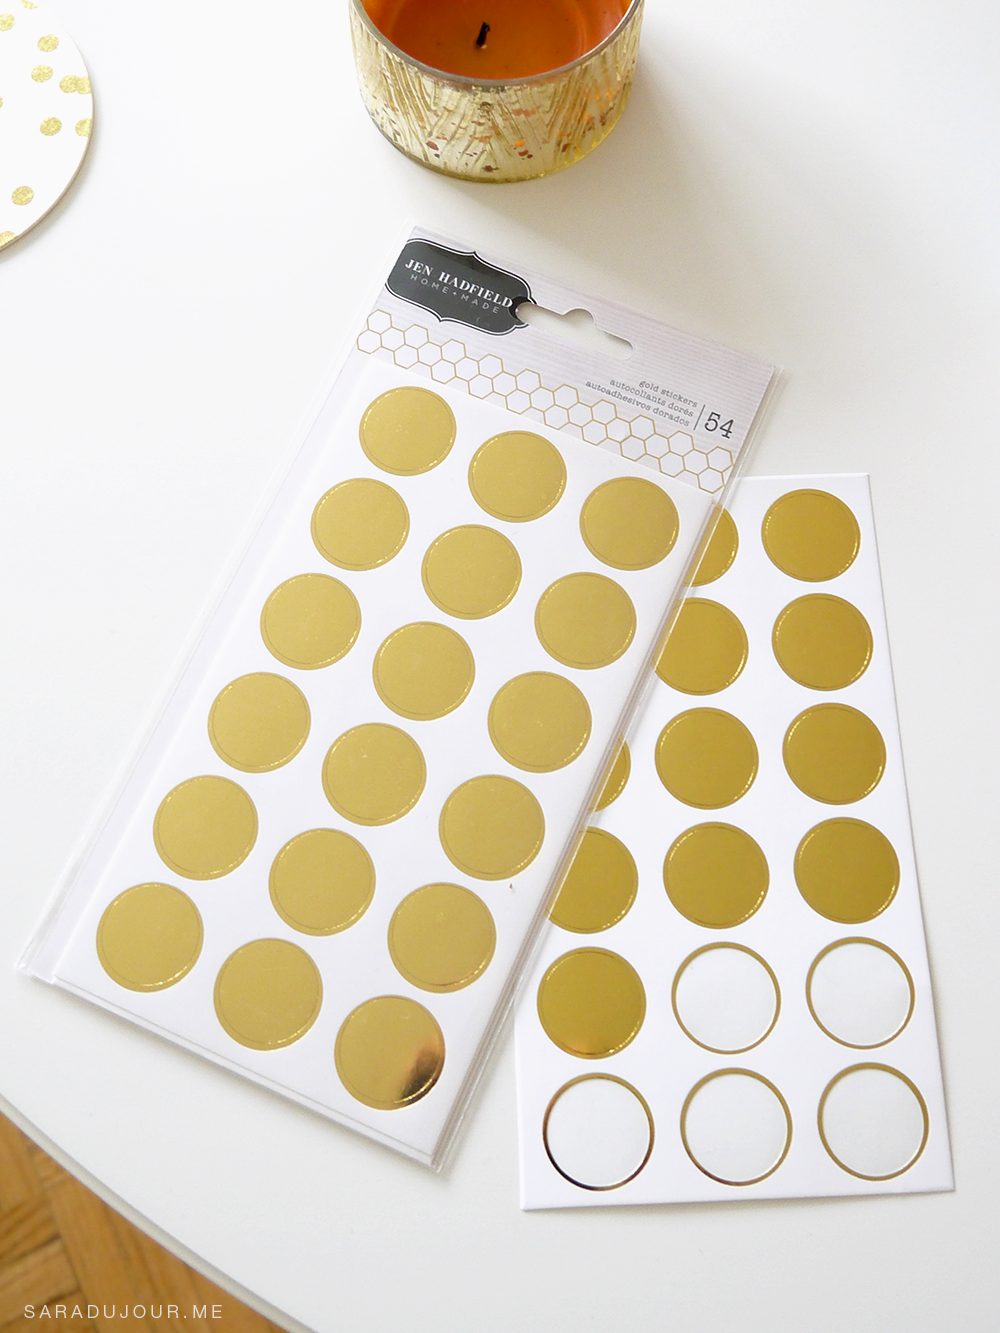
The next step was to decorate the side of the cart with gold dots. Because my cart sits beside a shelving unit, only one side was visible, so that’s the only one I decorated.
I used these gold stickers to create a random gold dot pattern. I cut a few of the circles in half to create the effect of them going off the edges.
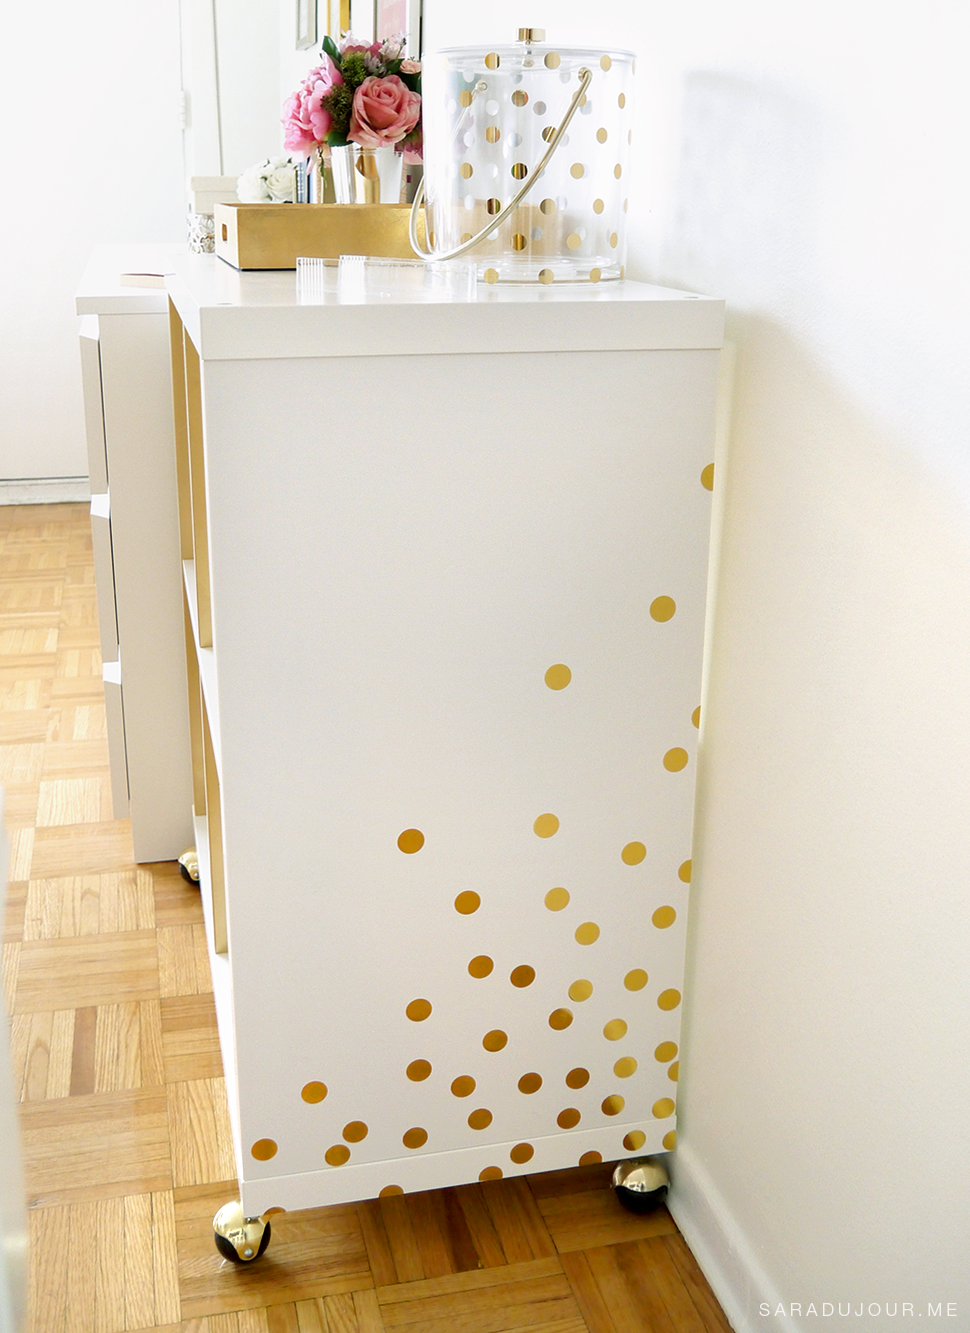
The great thing about these stickers are that they’re very easy to peel off and re-arrange, which I did quite a few times until I was happy with their placement.
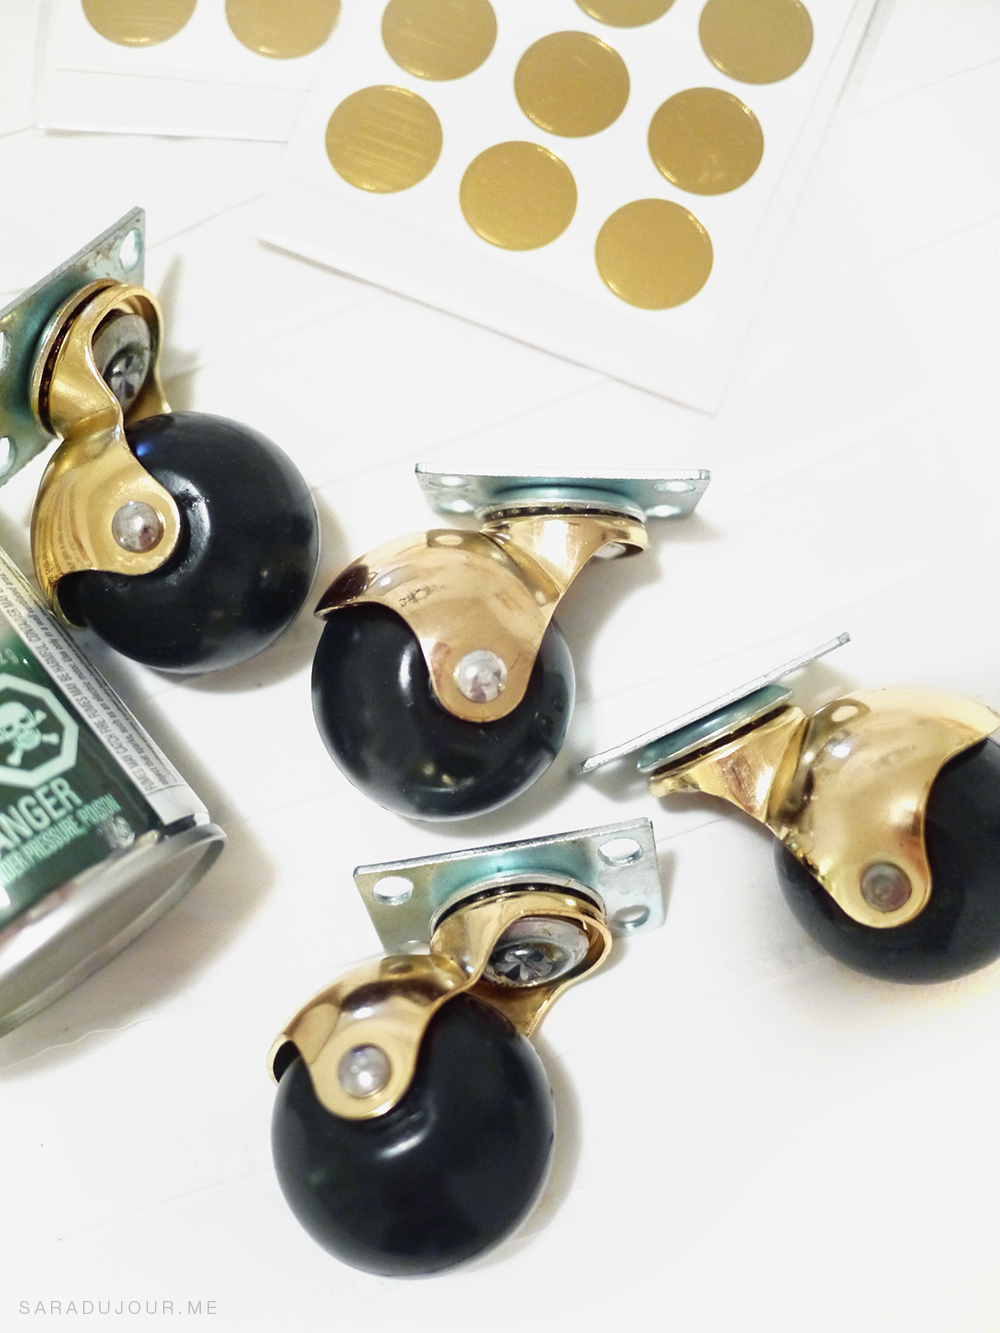
The final step in my DIY white and gold bar cart was to add the wheels, to truly make it a cart. I flipped the unit upside down, used a sharpie to mark each of the holes that needed to be drilled, and used screws in the holes to firmly attach the wheels. Be careful that when drilling you don’t drill all the way through the shelf.
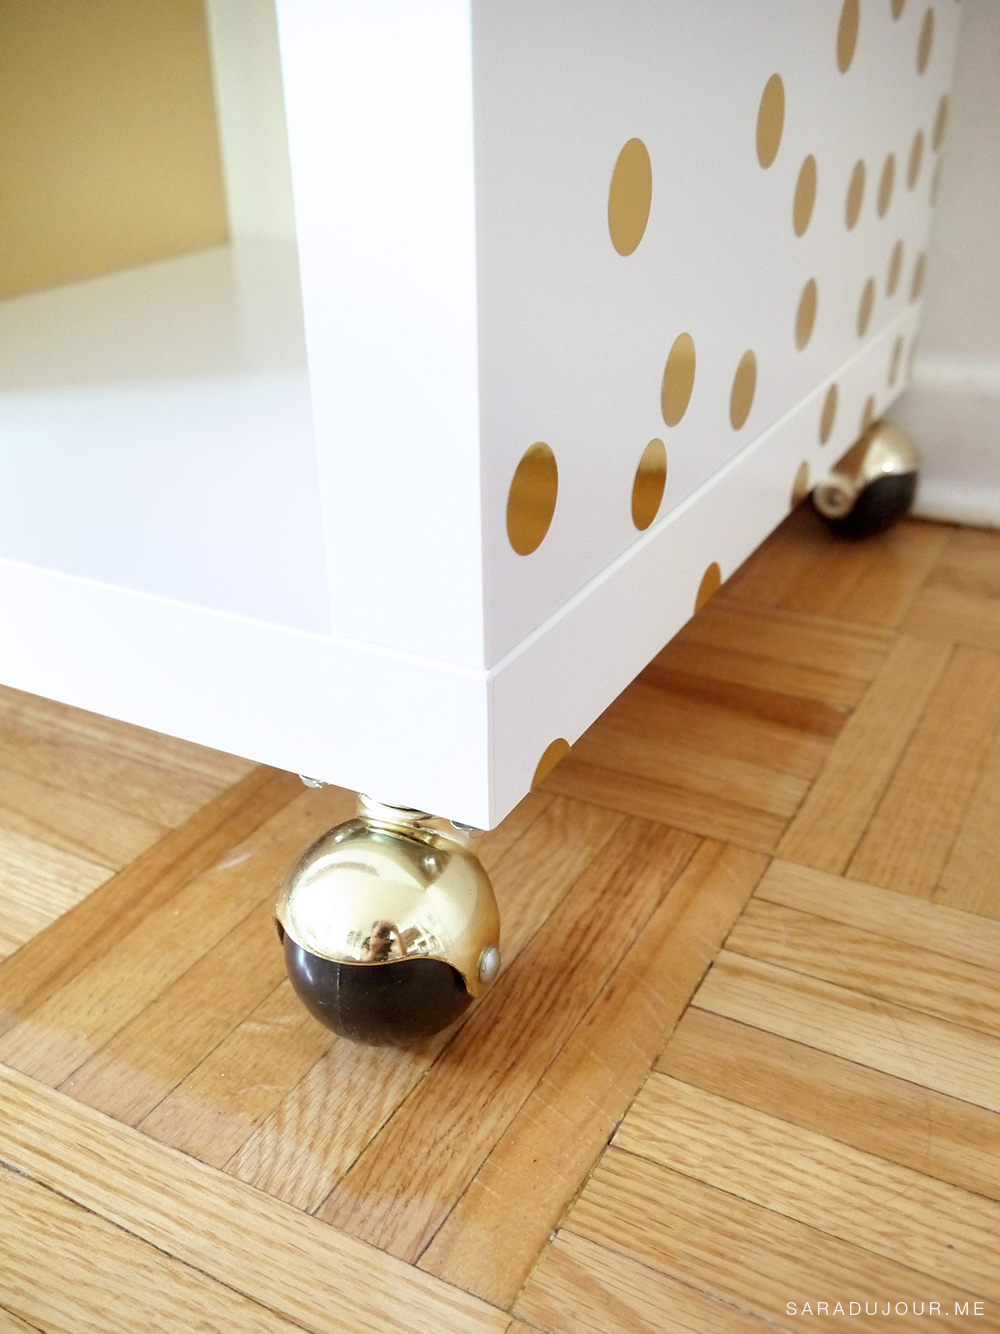
That’s all! You have a beautiful DIY bar cart, to decorate however you please. If you don’t want to use it as a bar cart, you can use it to store shoes, pretty knick-knacks, or absolutely anything!
Very soon I’ll be showing you how I styled my bar cart, and my bar cart essentials. Stay tuned for that! x
– Sara
Stay updated with Facebook • Twitter • Instagram • Pinterest • Bloglovin



Pingback: Bar Cart Essentials { Home Bar Haul } • Sara du Jour()
Pingback: Bar Carts - what I am loving right now! Check out these DIYs()