Tutorial: The Perfect Red Lip
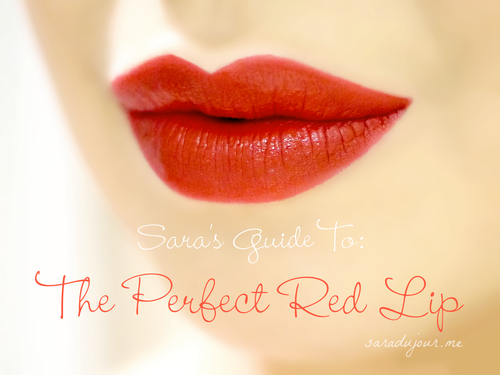
Whether you’re going for a classic pin-up look, or just want to spice up your makeup, the perfect red lip is a staple.
I love wearing red lipstick on days I’m feeling a little drab. There’s something about it that just lifts up your spirits and changes the way your carry yourself.
When it comes to picking the right red for your skin tone, I disagree with most guides out there. There’s nothing wrong with a fair-skinned gal rocking a deep berry, or a dark-skinned gal wearing a bright orange-red. While these break the traditional “rules”, I’ve seen them look amazing when done right. Generally, though – choose a red that matches your skin’s undertones. If you have pink undertones, choose a pink-based red, and if you have yellow undertones, a warmer, more orange-based red.
The Tools:
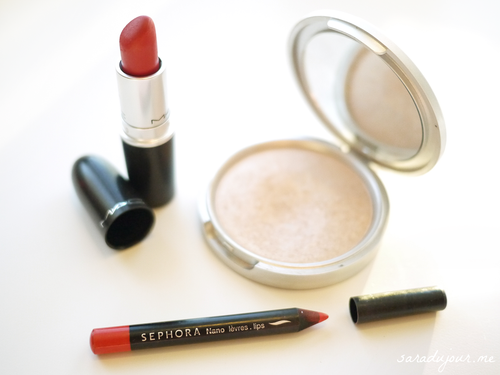
I tried to keep this tutorial for the perfect red lip as user-friendly and simple as possible, so we’re only using three products – and no brushes! A lip liner, a lipstick, and a highlighting product. I’m using:
Step 1: Prep
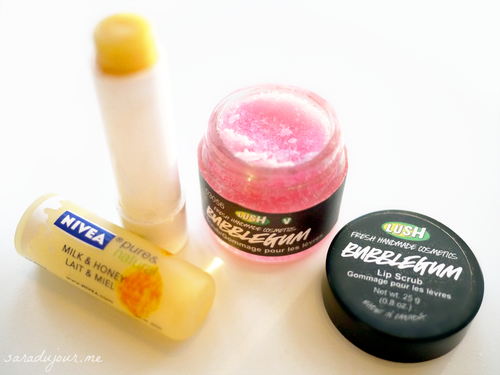
Just like when painting, you need to prep your canvas. No matter how precisely you apply your lipstick, it won’t look good if it’s on a dry, lumpy base.
If your lips need exfoliating, you can use a lip scrub like this Lush one (it smells divine!), or simply use some lip balm and a toothbrush to scrub all the little dead, dry bits off your lips.
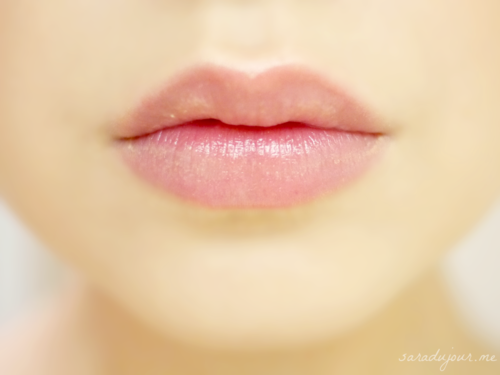
Good. Now that your lips are smooth as a baby’s bottom, apply some lip balm generously, and give that a few minutes to sink in. (I like to do this first, then do the rest of my makeup in the meantime.)
Here’s another tip, and this one’s really important: apply your foundation, concealer, or pressed powder all around your lips, right to the edges. This will conceal any natural redness around your mouth (which women are particularly prone to) and give you a much neater red lip at the end. If you skip this, the red lipstick will emphasize the redness around your mouth, and you’ll end up with lipstick that looks slightly blurry and messy.
Now that we’ve given our lip balm time to sink in and moisturize, blot it off with a tissue. Lipstick and lip liner need to go on without anything underneath, because otherwise they’ll slip and bleed into fine lines around your mouth.
Step 2: Highlight
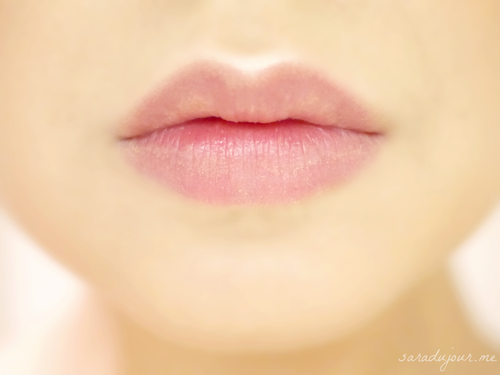
Take a highlighting product of your choice, cream or powder, and apply it on your cupid’s bow. That’s the little “v” shaped area just above the middle of your top lip. It’s a subtle trick, but it will help light hit your lips beautifully, and make them look fuller.
Step 3: Line
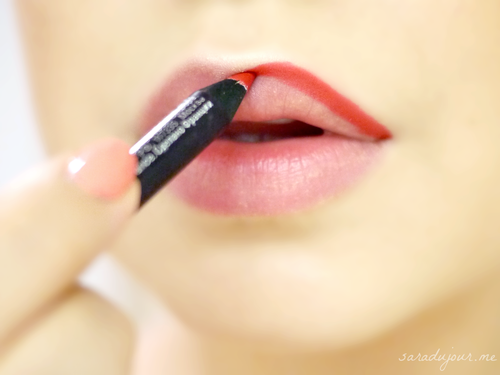
This is the trickiest part, because it’s where you get to define the shape of your lips. If you’re happy with your natural lip shape, use the lip liner to trace the edges of your lips. If you want to create the illusion of fuller lips, line slightly outside your lips’ natural edges. Likewise if you desire smaller lips, line within your lips’ natural edges.
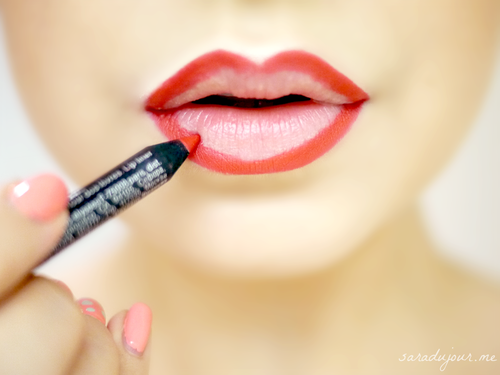
Make sure your lip liner is sharpened, because this will give your more control over the line you’re drawing. Once you’re happy with the shape you’ve drawn, fill them in with the liner.
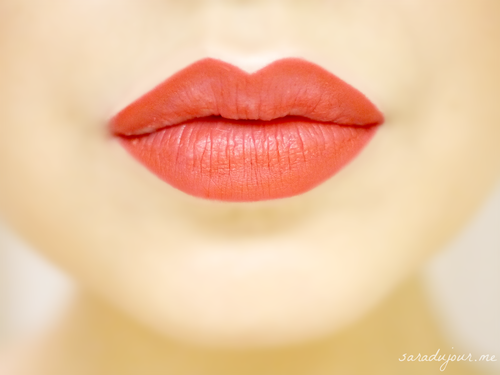
Step 4: Lipstick
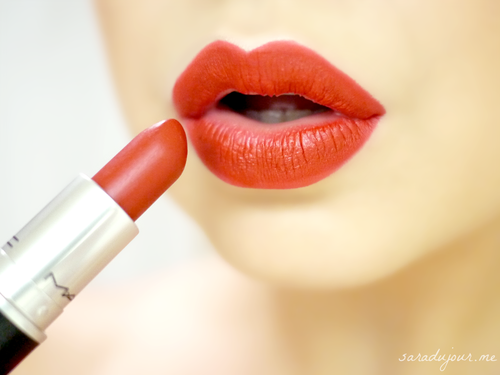
Take the lipstick of your choice (I’m using MAC’s “Russian Red” because it’s universally flattering) and fill in your lips. Because you’ve already lined your lips, you don’t have to be very precise with this: just dab some in the middle. Don’t get too close to the edges, because you don’t want to ruin the perfect lip line you just created.
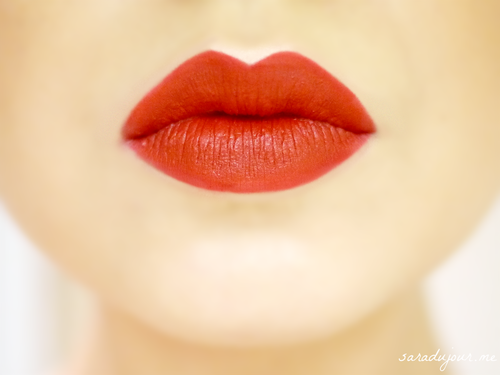
And that’s all she wrote!
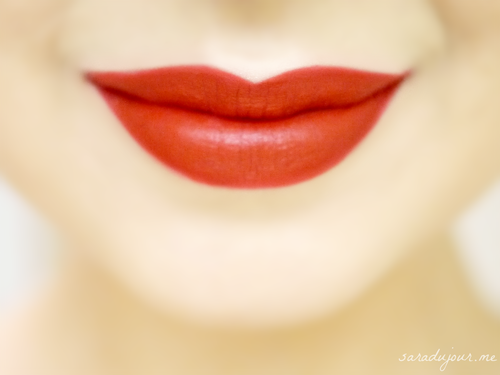
If you want your lips extra matte, blot your lips with a tissue, then reapply the lipstick and blot again.
If you want it to be a little shinier or more moisturized, dab some lip balm in the very center of your lips. (This will also make them look fuller.) Make sure you don’t apply lip balm to the edges of your lips, though, because that will cause your lipstick to bleed.
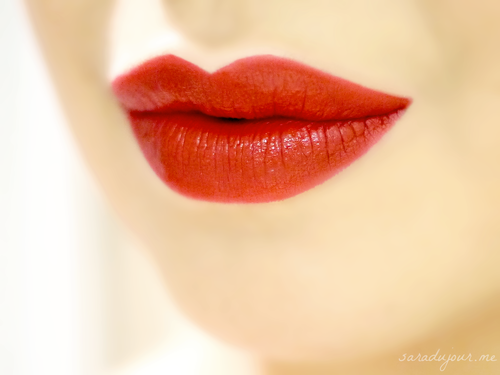
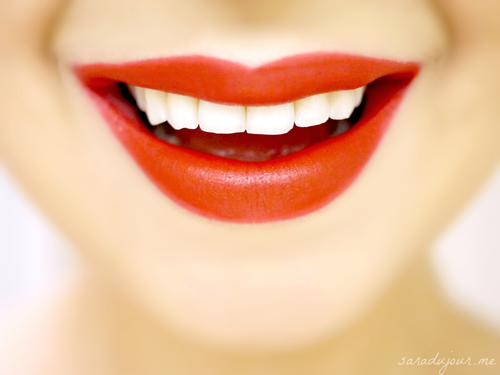
[I’ve added some tinted lip balm (Revlon’s “Candy Apple” Lip Butter) over my lipstick to get the shiner lip look in the photo above.]
If you desire a glossy red lip, apply a small amount of gloss in the middle of your upper and lower lips. You can use a red gloss or a clear gloss, since your lipstick is already red. Or mix it up with a pink or orange gloss, to change the hue of your lipstick!
And as a final tip: while this may go against everything you know, don’t smear your lips together at the end. You’ve already put your lip products exactly where you want ‘em – don’t smear them around!
Don’t forget the one-finger-in-the-mouth porno trick to prevent lipstick from getting on your teeth. Cheers! x


