DIY Gold Sharpie Dot Mugs + Glasses
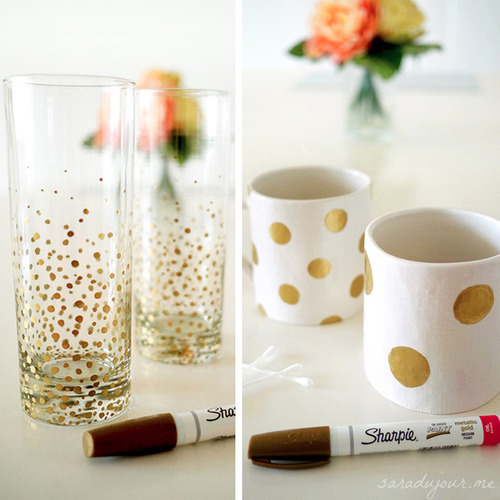
Last weekend I decided to get crafty. I’d seen DIY Sharpie mugs all over Pinterest and Etsy, so I thought I’d give them a try myself. After looking up a lot of different styles and methods, I combined what I thought were the best bits of each and went to town. They’re beautiful, very easy to do and super affordable!
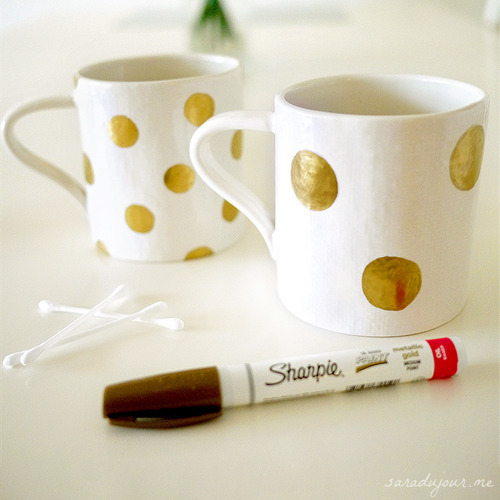
To do these gold sharpie dot mugs, you’ll need:
- A gold paint Sharpie
- Assorted mugs (or drinking glasses, wine glasses, plates, bowls, teapots – you name it, you can decorate it)
- Cotton swabs (optional)
- Nail polish remover (optional)
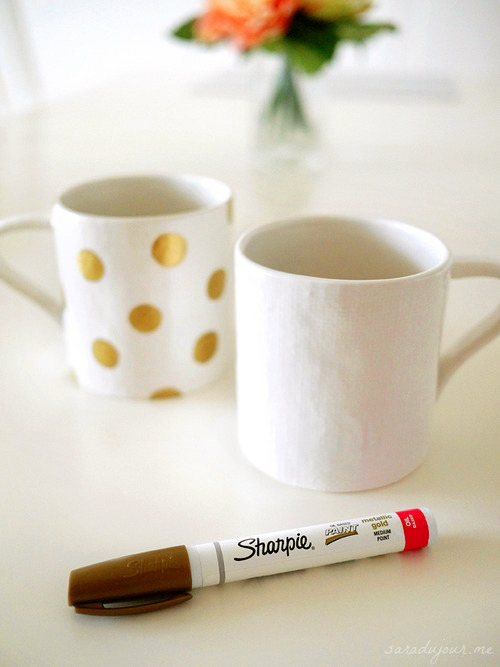
Start by thoroughly washing your mugs or glasses with dish soap and water. It’s important to remove all traces of dirt or oily residue on them so the Sharpie draws on a clean surface.
If you want to be extra sure it’s totally clean, wipe down the surface you’ll draw on with a cotton pad soaked in acetone (nail polish remover).
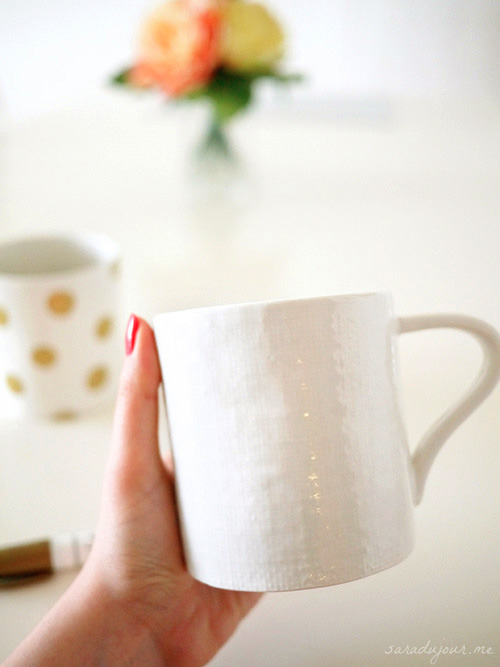
I chose these mugs because the slight “woven” texture gives an otherwise plain white mug a bit of personality, and a more organic look.
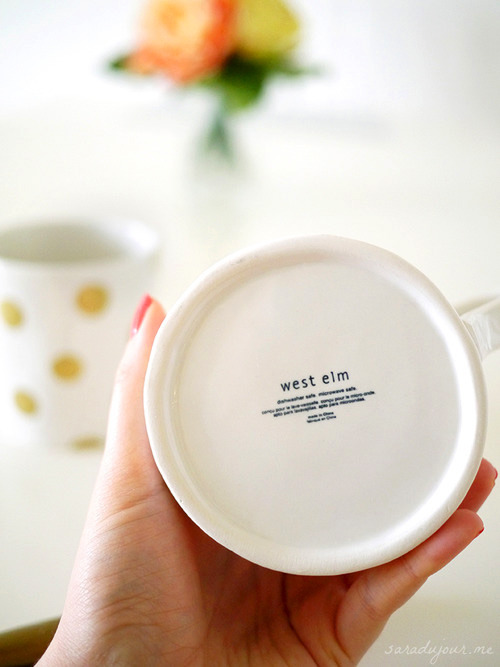
I found these at West Elm, but you can buy mugs from absolutely wherever you want. Even the dollar store! (No one will know once you make them all fancy, so why not save a few bucks?)
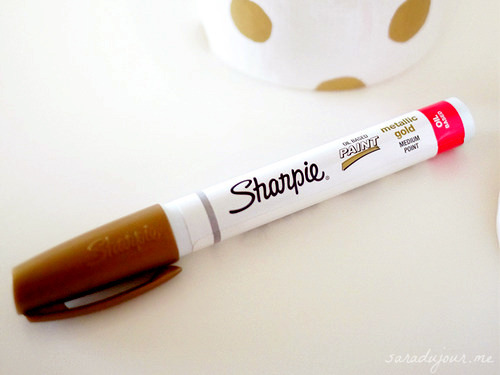
Make sure you buy the correct type of Sharpie – the oil-based kind, not the regular kind. I found this medium point metallic gold paint Sharpie on Amazon for less than $5.
I bought two to be safe, and used the first one a massive amount and didn’t even finish it. So you definitely only need to buy one.
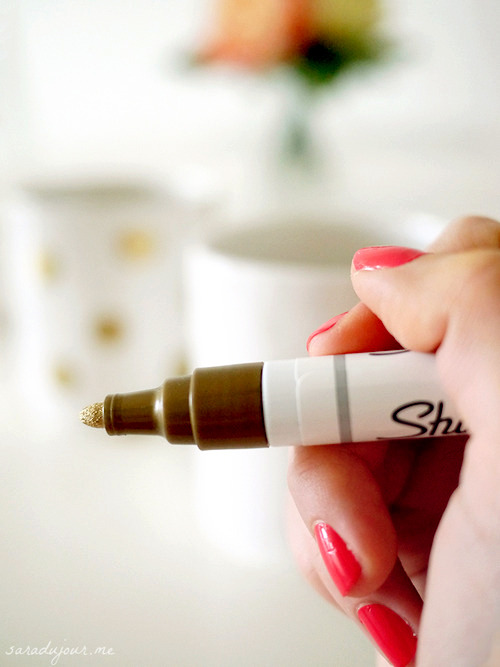
The medium point is great, because it allows you to colour in larger spaces quickly but also allows for detail work (keep reading to see what I mean).
Shake it up hard and get to work!
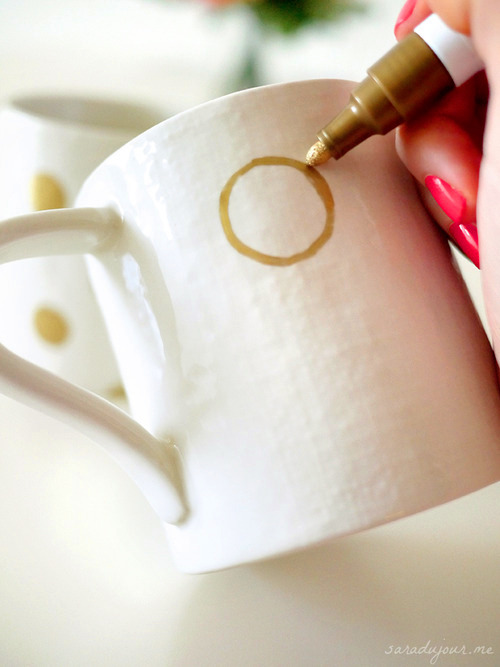
Start by outlining your design. I decided to do large gold polka dots, but you can write your name, your favorite quote, a phrase, or any design you like. They’re a great gift idea, too! Personalized, thoughtful, and inexpensive.
I chose to freehand my dots because I like the more whimsical imperfect look, but if you’d like more precise circles you can use stick-on hole punch protectors as stencils.
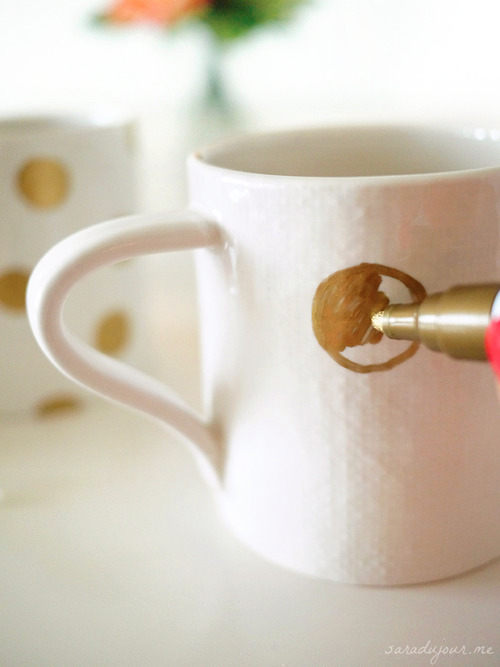
Don’t worry if you make a mistake or change your mind about what kind of design you want to do. If you don’t like something, you can easily correct it by “erasing” it with a cotton swab dipped in nail polish remover.
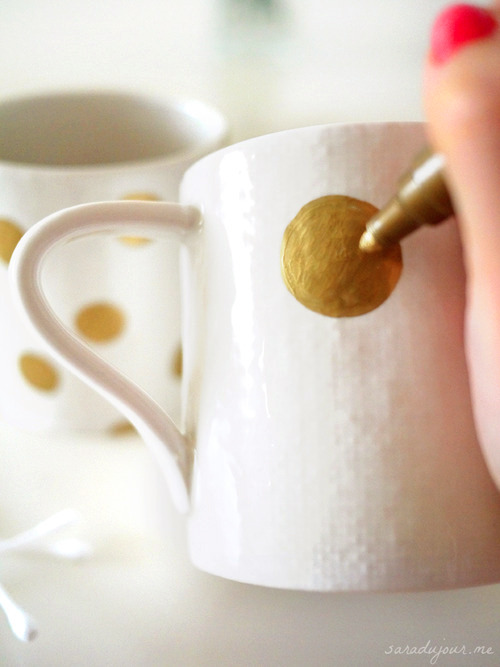
Keep drawing and filling in your design all around the mug. At this stage, the paint is still wet, so be careful not to lean on it with your hand while you work.
It might help to stick your other hand inside the mug or glass as you paint.
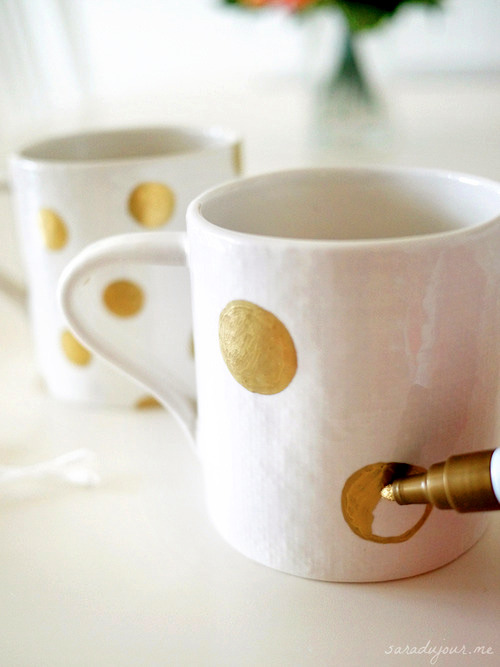
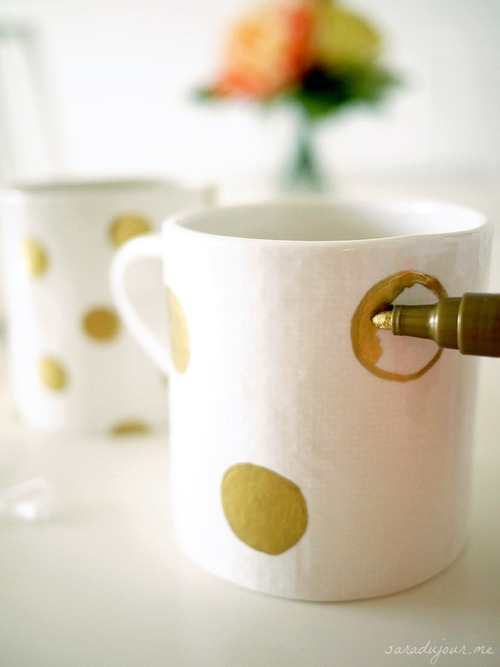
When you’re completely finished and happy with your design, leave the mugs to dry for at least 24 hours.
The final step is to bake them in the oven. Lay the mugs or glasses on a baking sheet and put them in at 350 degrees for 30 minutes. Don’t worry, they won’t crack!
The trick is to put them in right away, as soon as you turn the oven on. Don’t wait for it to preheat first, because you want them to heat up gradually to avoid cracking.
After the 30 minutes elapses, turn the oven off, open the oven door, and let them cool for another 10 minutes or so.

You’re all done! They’re sealed, gorgeous, and won’t budge when you wash them. They are dishwasher safe, but I’d recommend washing them gently by hand (no abrasive sponges!) just to be on the safe side.
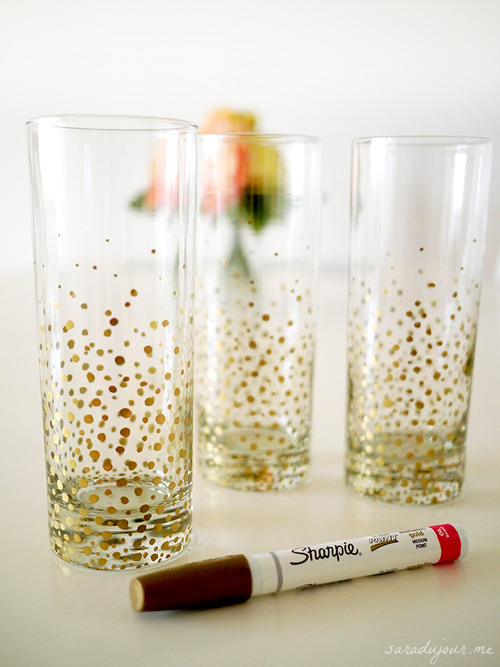
I used this identical method to decorate my drinking glasses. This delicate bubbly pattern was a lot more time consuming – I did six glasses altogether and it took the larger part of a day. (But it was fun, because I was marathoning a show in the background while I worked.)
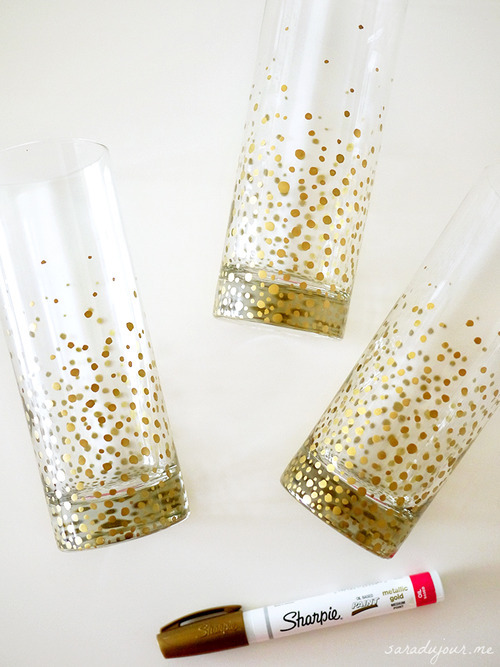
I’d seen similar glasses at Anthropologie, and while gorgeous, at $58 bucks for four they sure weren’t cheap. Plus, they were very small and meant for champagne, and I was looking for full-sized drinking glasses.
So I took matters into my own hands and did them myself! I bought the glasses at West Elm for only $2.50 each, and with a $5 Sharpie, I got the same look for a much more budget-friendly price.
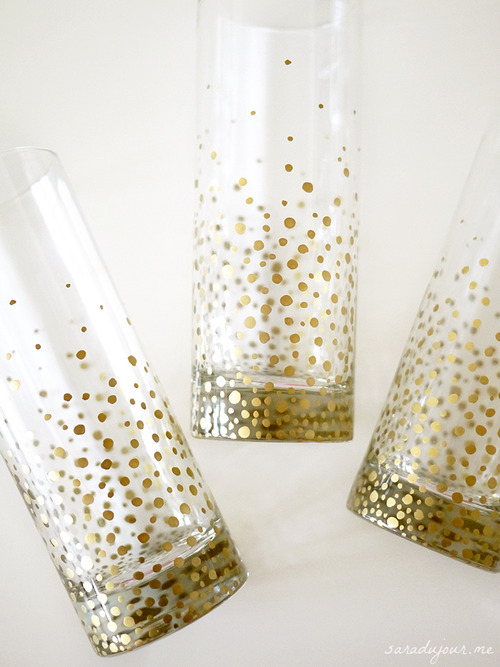
I’m so happy with how they turned out. Have you tried this DIY Sharpie method before, or do you plan to? Let me know in the comments! x


Pingback: [DIY] Cómo personalizar tus vasos de cristal con dorado y cobre | La mesa está servida()
Pingback: 25 DIY Gifts - Lydi Out Loud()
Pingback: No Time ~ No Money ~ No Worries ~ 8 Low Cost Last Minutes Gifts to Make - DIY House to Home()
Pingback: Hosting a Christmas Cocktail Party • Sara du Jour()
Pingback: 28 Awesome DIY Sharpie Crafts That Even the Kiddos can Pull Off!()
Pingback: 28 Awesome DIY Sharpie Crafts That Even the Kiddos can Pull Off! – My Blog()
Pingback: キッドでさえも引き出せる28個の素晴らしいDIYシャーピークラフト! - メイクとモリー趣味()
Pingback: Sharpie Art Project Ideas for Kids()